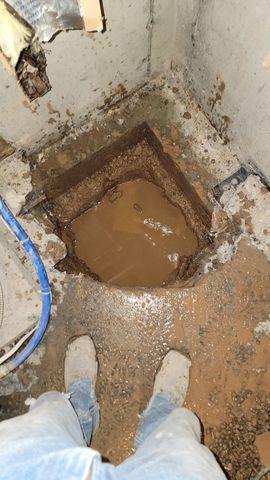
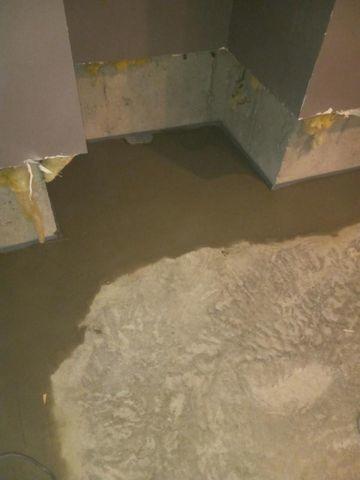
Sump Location
Sump location before sump is installed. No shortage of water below this slab.
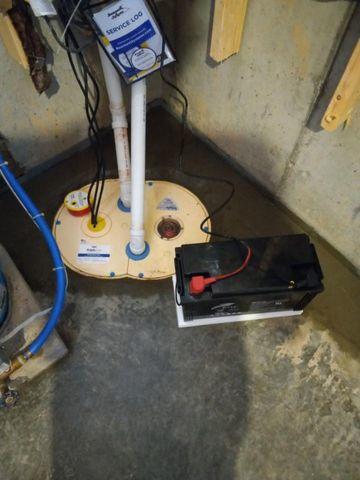
Triple Safe Sump
Now that the Triple Safe Sump is installed the water will be pumped away from the house. No more flooding!
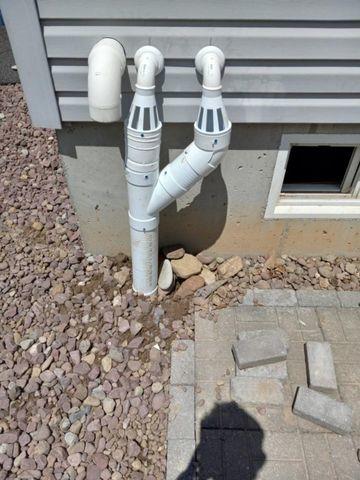
Sump Discharge
The Ice Guards in the sump discharge line ensures no problems with the sump system in the event the buried discharge line is obstructed for any reason.
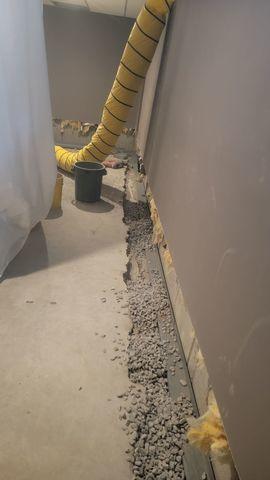
Work in Progress
The concrete slab floor is removed so that the Waterguard system can be placed on top of the footer.
Finished Product
The concrete is put back in place after the system is installed. A Waterguard port is installed so that the system can always be inspected in the future. The new concrete is still wet in this photo.
